
Get started with BrandRetriever
BrandRetriever adds folders and uploads from Google Drive and Dropbox to Klaviyo's image picker, and shows where every image is used. Setup takes a few minutes.
Create your account
Sign up at app.brandretriever.com. Your 14-day free trial starts right away, and no credit card is required.
Start free trial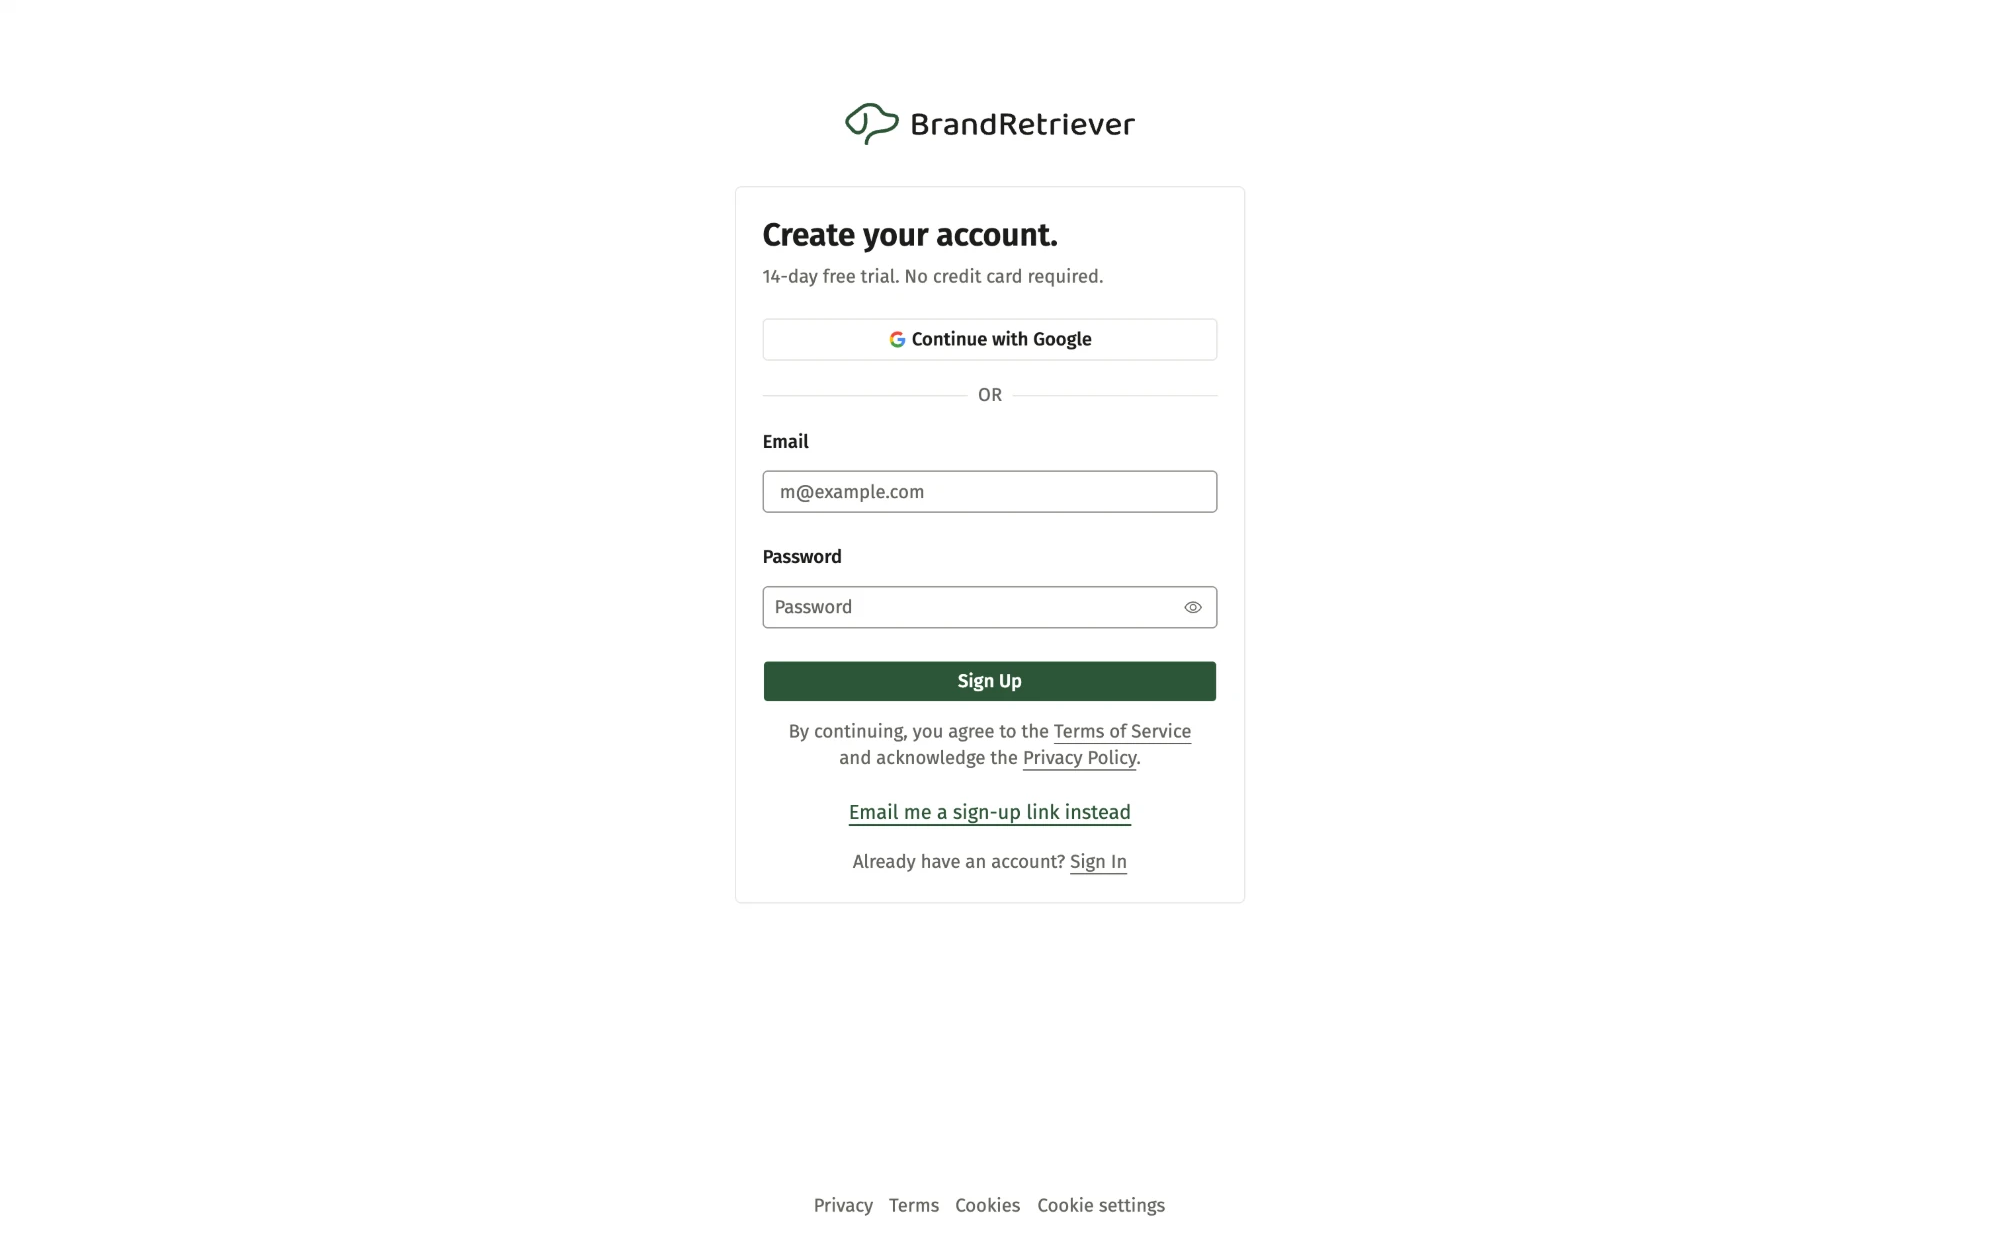
The BrandRetriever sign-up page Connect Klaviyo
After signing up, click Connect Klaviyo and sign in to the Klaviyo account you want to use. Approve access, and BrandRetriever syncs your image library automatically. BrandRetriever can read and upload images and see where they're used. It can't change your profiles, lists, campaigns, or flows.
Managing several brands? Connect each Klaviyo account the same way.
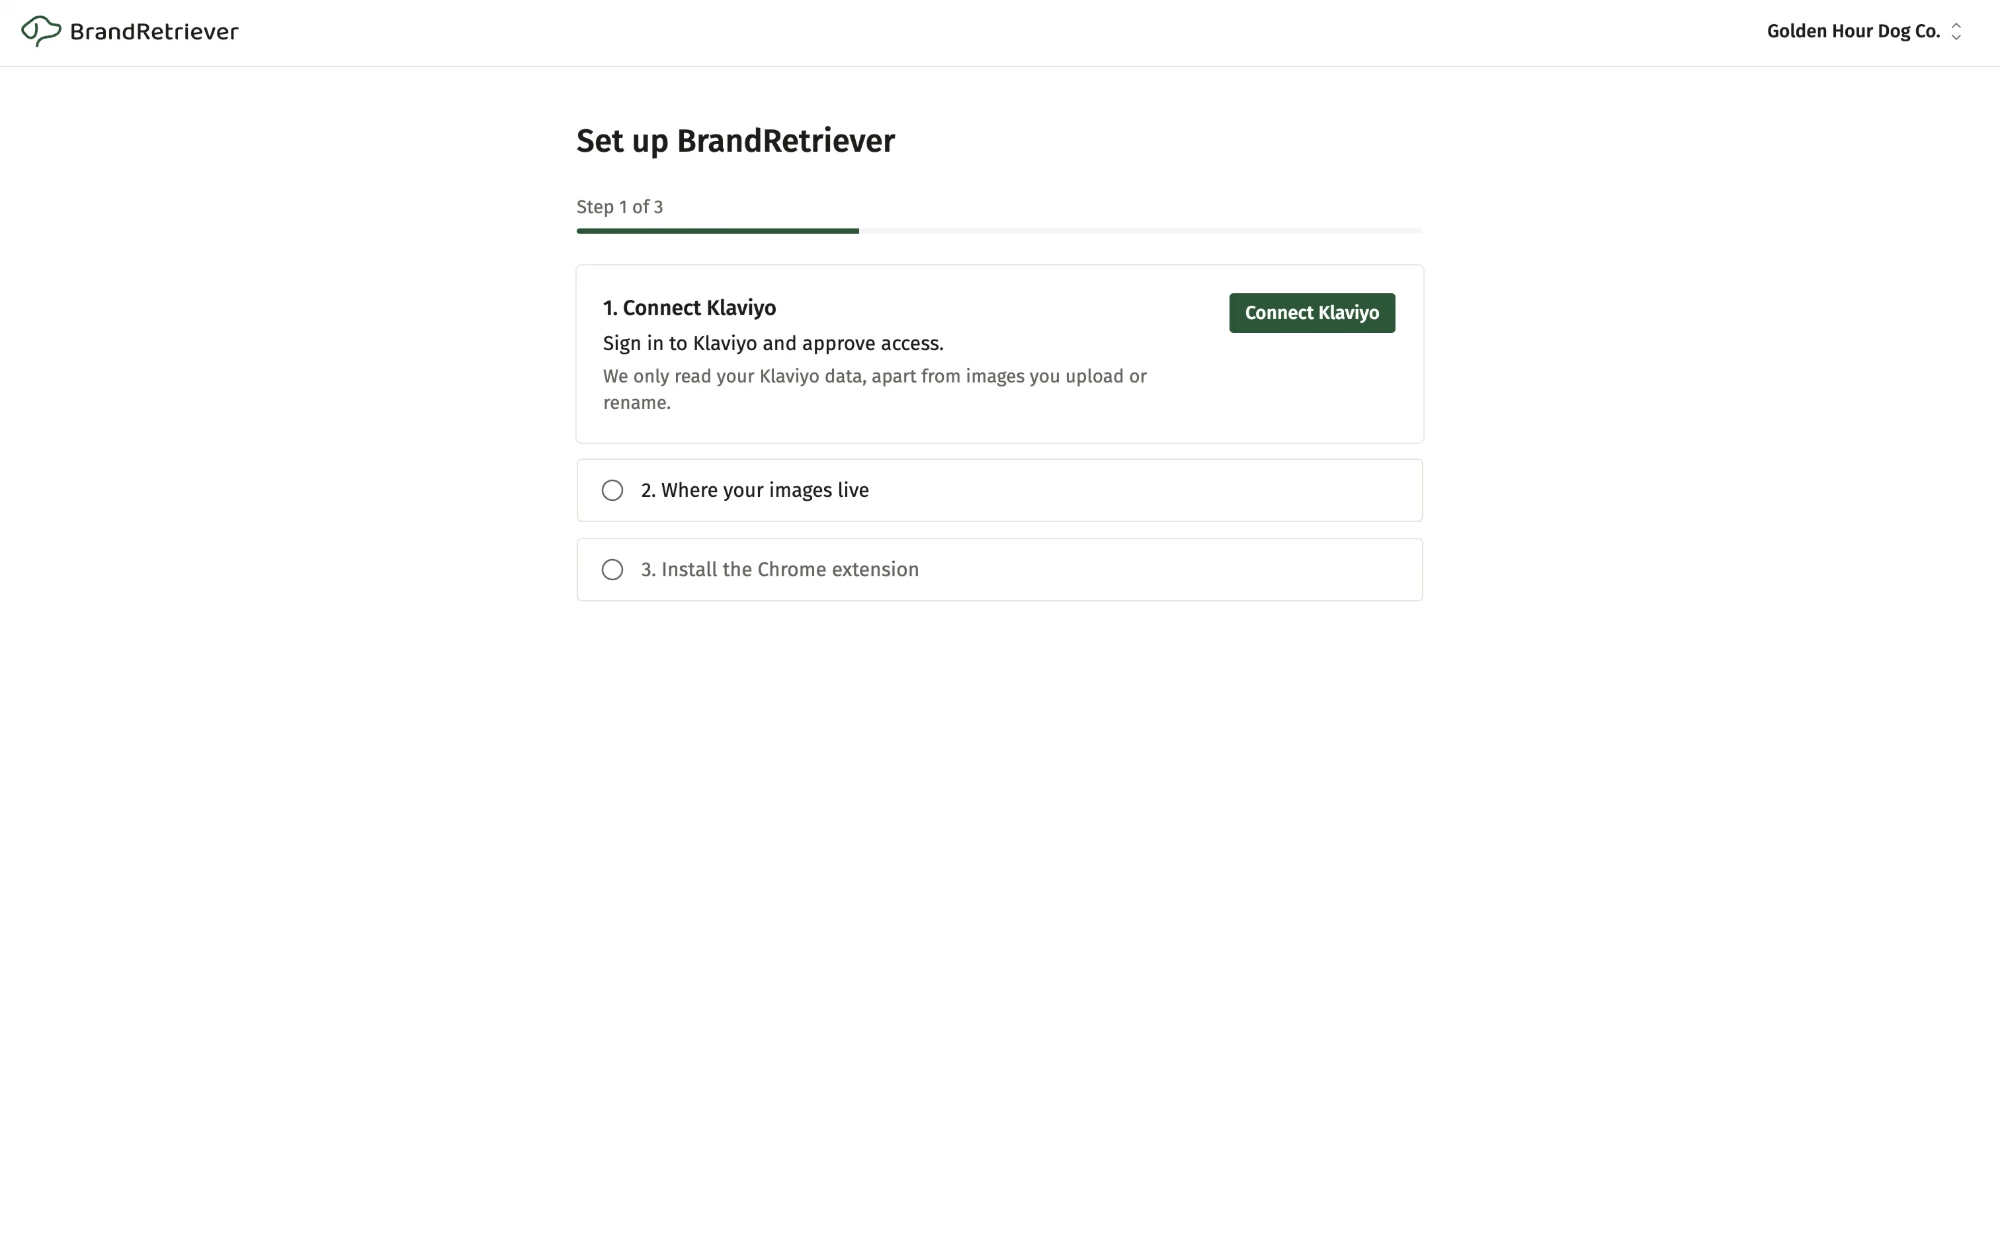
The Connect Klaviyo step of BrandRetriever setup Choose where your images live
Select every place you keep images. Klaviyo or my computer is always available, and it's fine to choose only that: Folders and usage tracking work with your Klaviyo library on its own.
Google Drive and Dropbox are upload sources. Pick a file there and BrandRetriever copies it into your Klaviyo library. Brandfolder adds its own tab in Klaviyo where you browse your team's approved assets. You can change this later in Integrations.
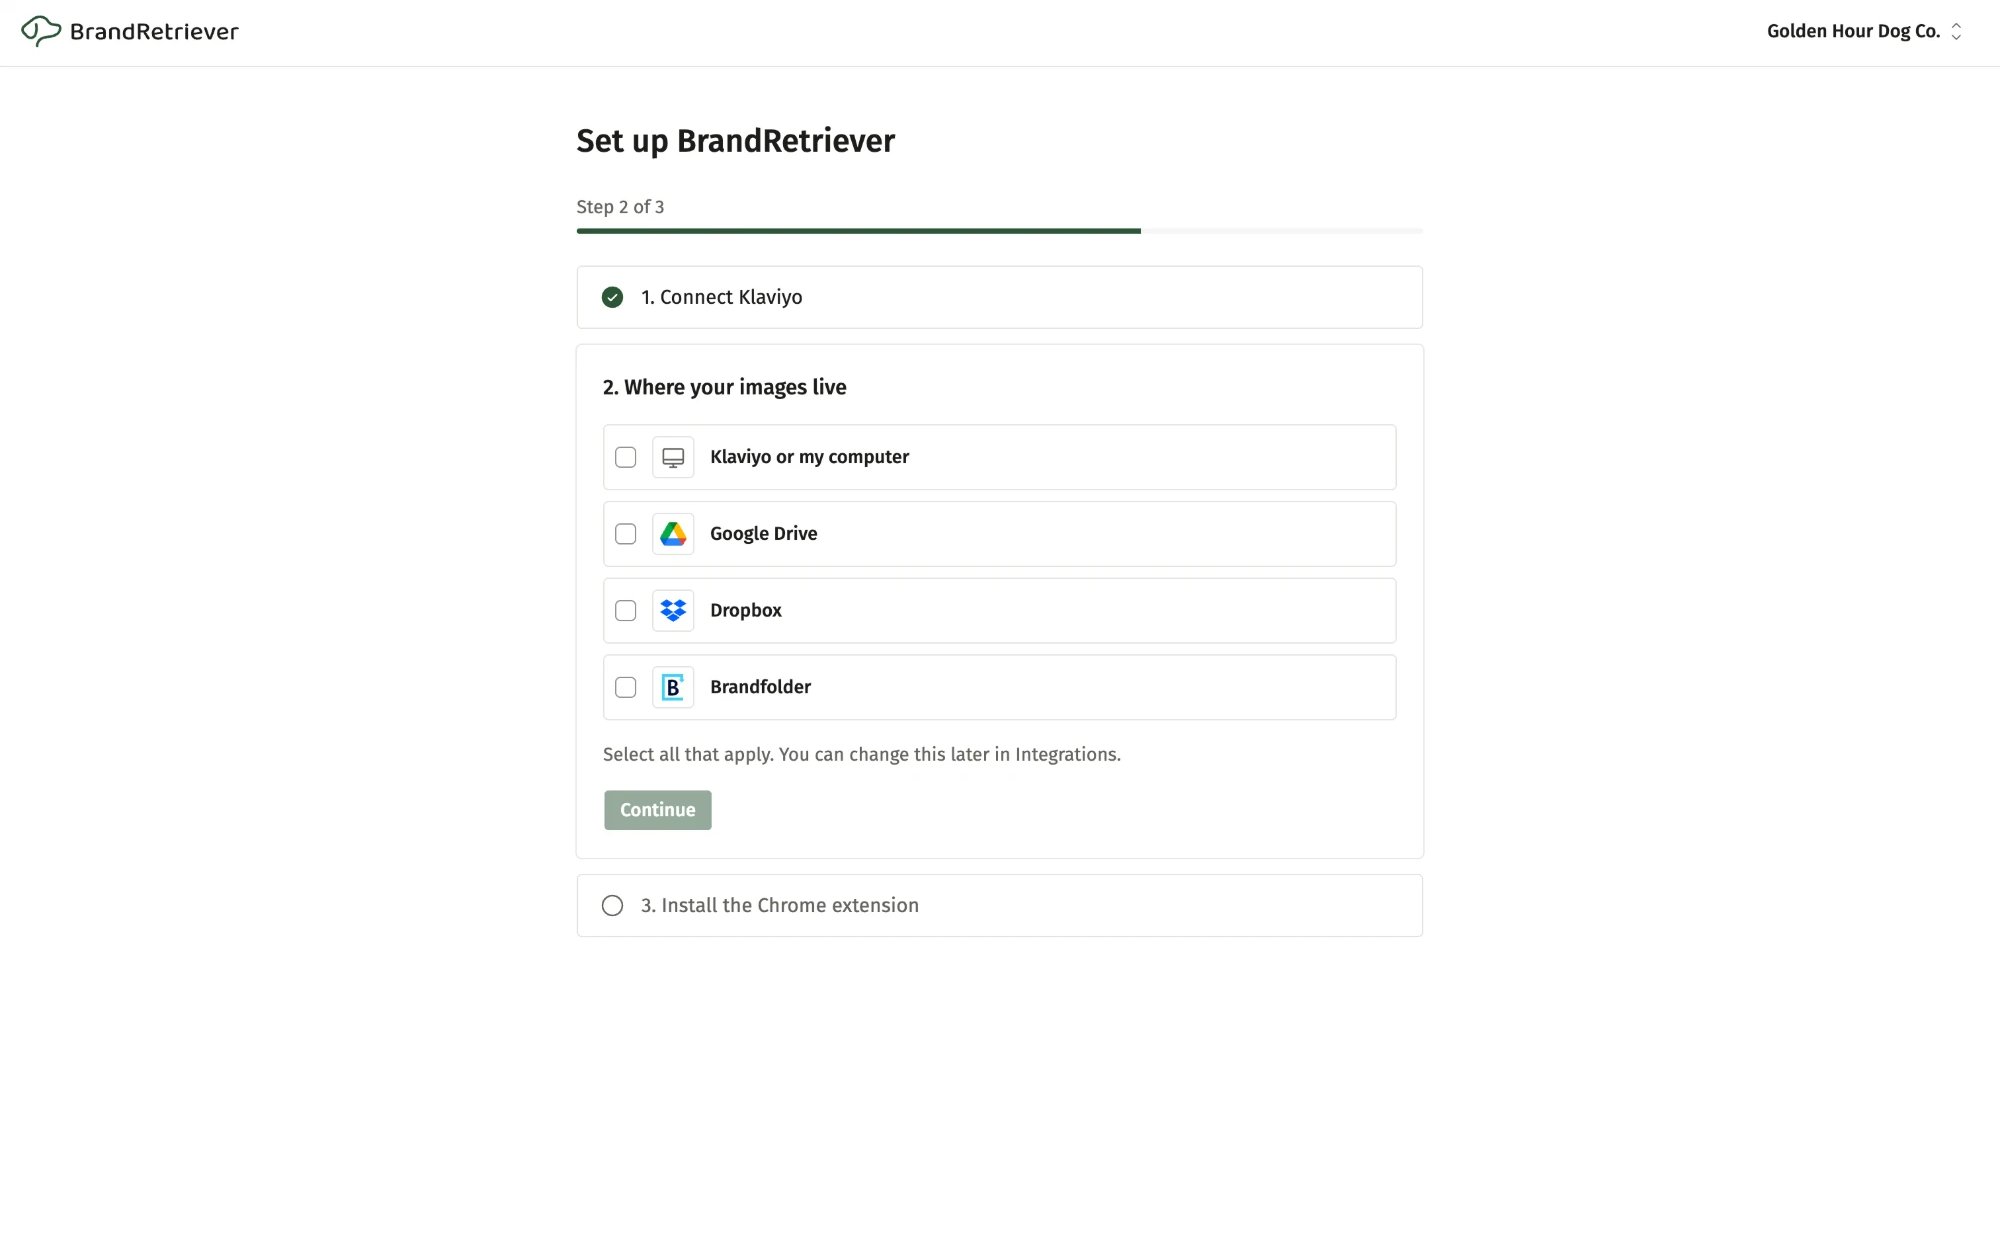
Choosing where your images live: Klaviyo or my computer, Google Drive, Dropbox, or Brandfolder Add the Chrome extension
Click Add to Chrome, add the extension in the Chrome Web Store, then come back. BrandRetriever detects it automatically, and you're already signed in. If Klaviyo was already open, reload the tab.
Add to Chrome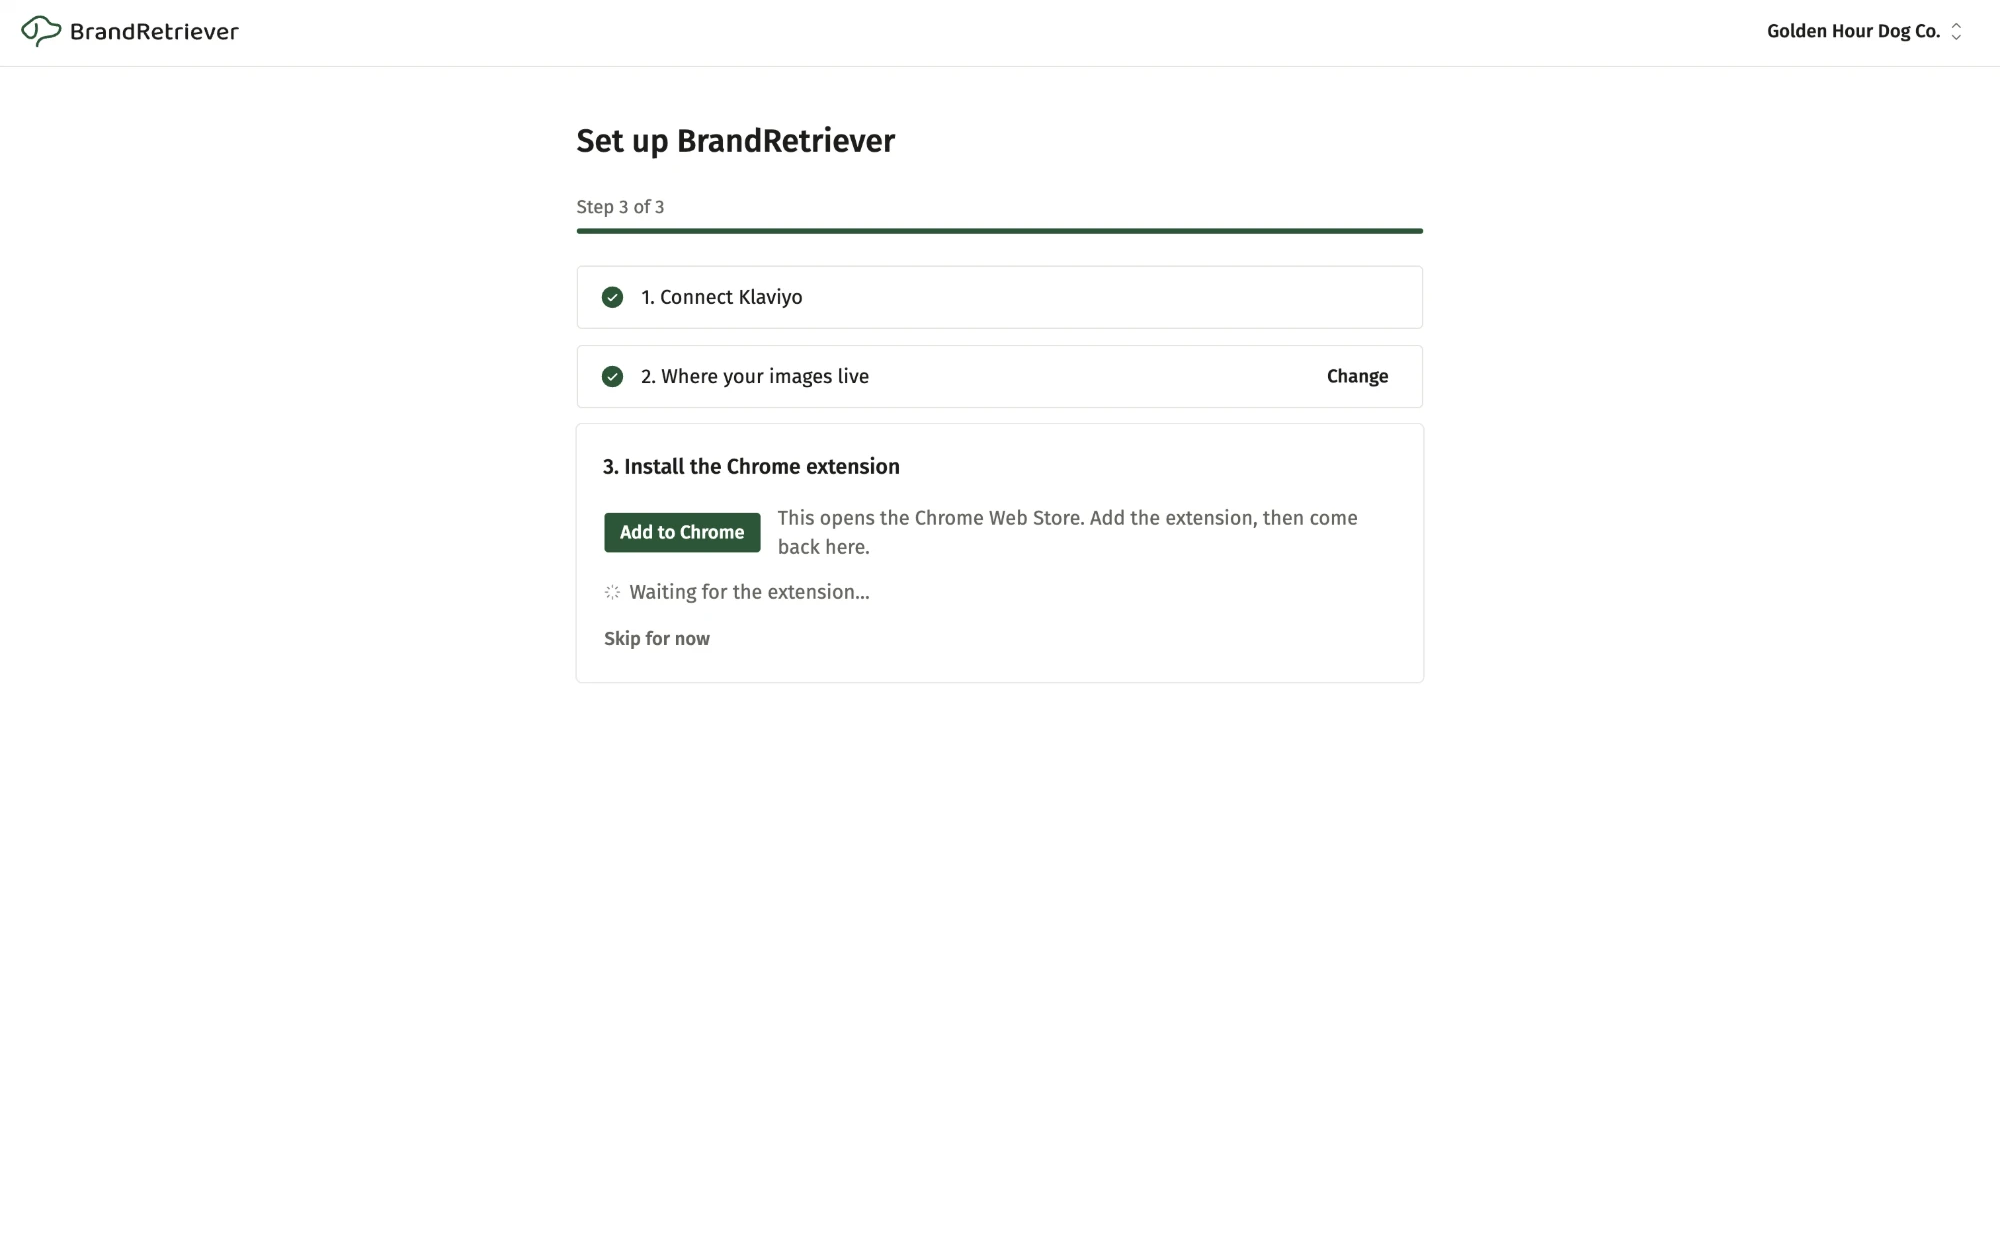
The Install the Chrome extension step of BrandRetriever setup Organize images with Folders
Open any image block in a Klaviyo campaign, flow, template, or sign-up form, and click the Folders tab in the image picker. Create folders, drag images into them, and favorite the ones you use most. Search and filters work across every folder.
Folders live in BrandRetriever, so your Klaviyo image library itself isn't changed.
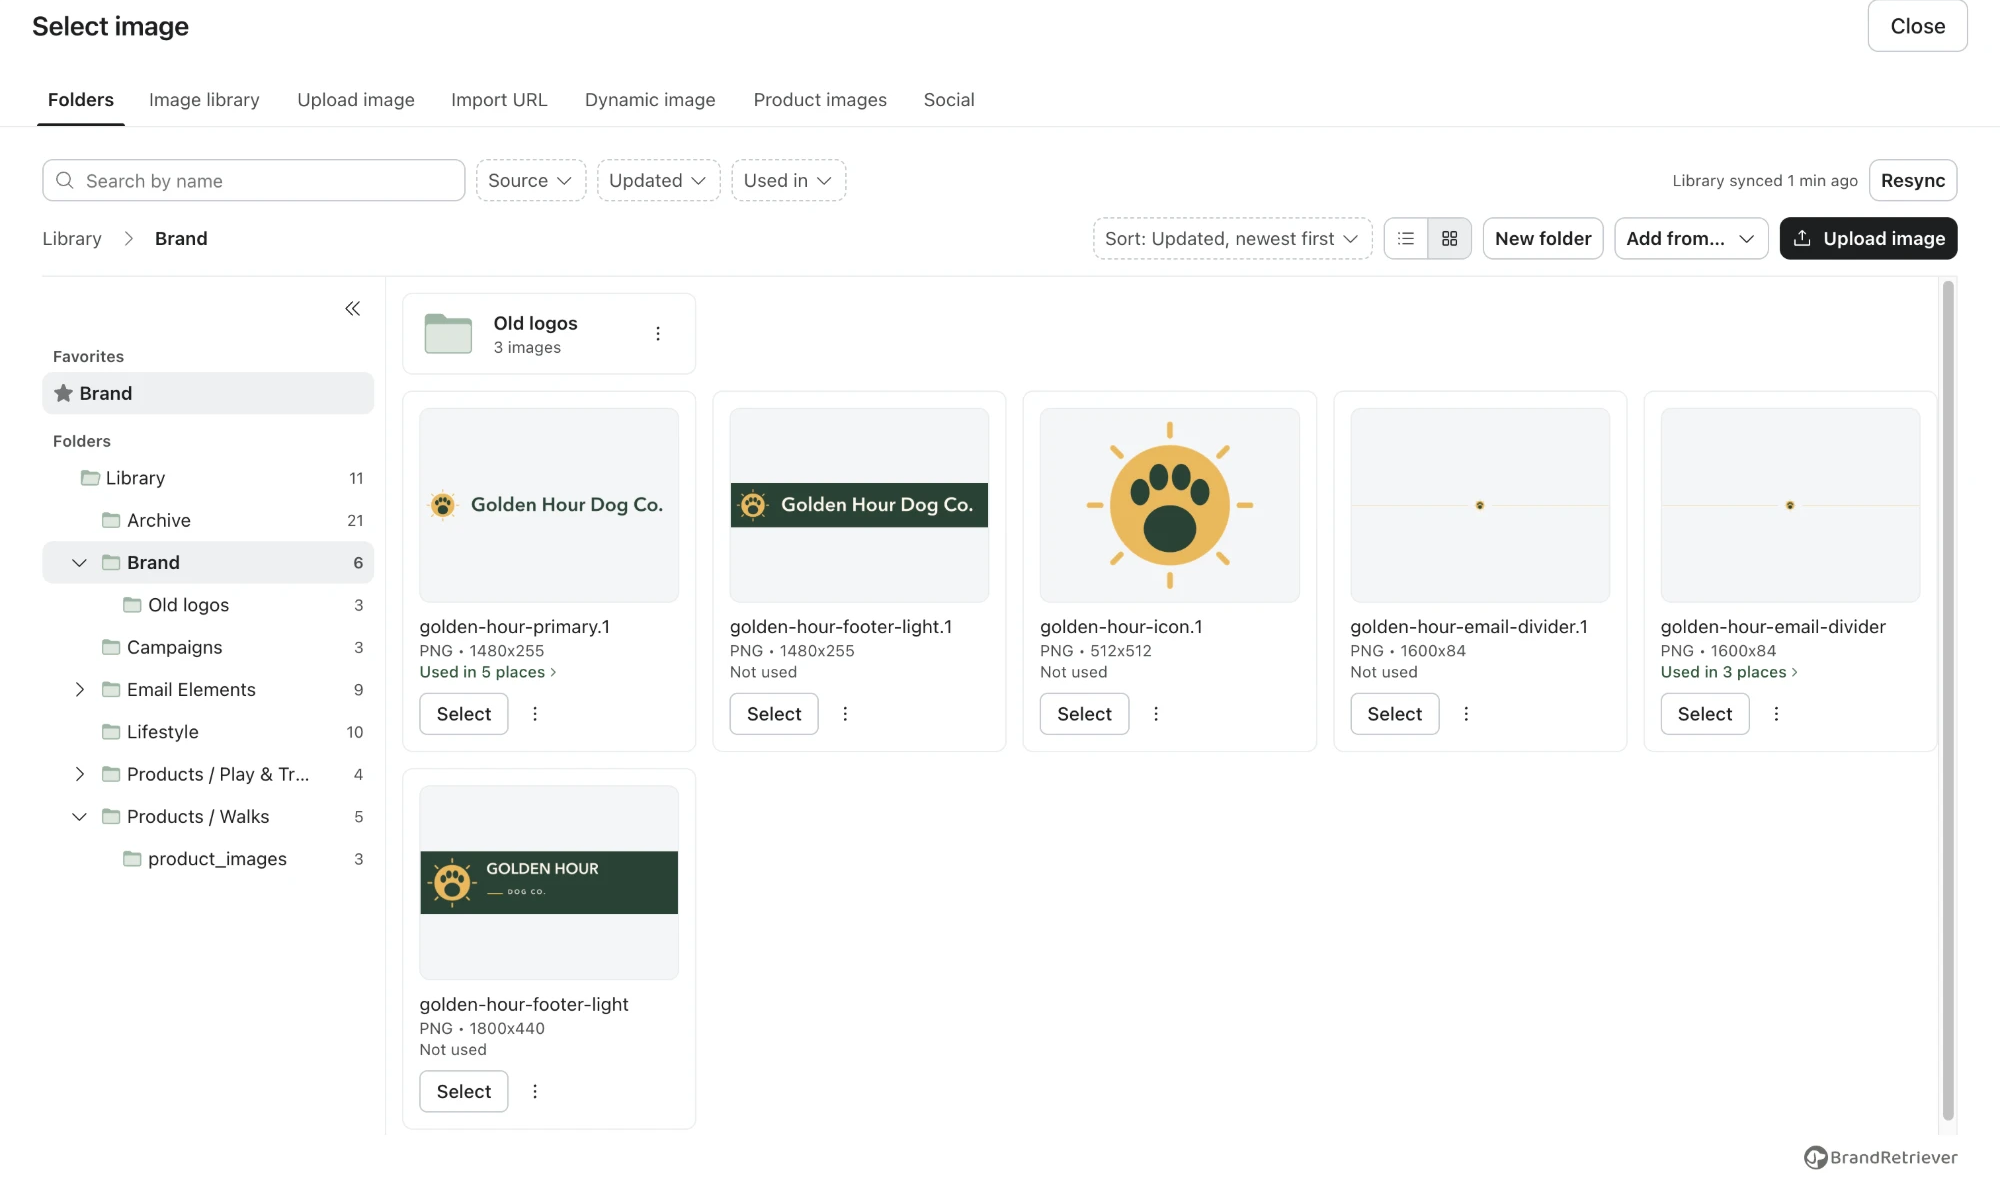
The Folders tab in Klaviyo's image picker Upload from your computer, Google Drive, or Dropbox
In the Folders tab, click Upload image to add a file from your computer, or open Add from… to choose Google Drive or Dropbox. Pick your file, and it's uploaded to your Klaviyo library and filed in the folder you're viewing. Then select it to use it in your email.
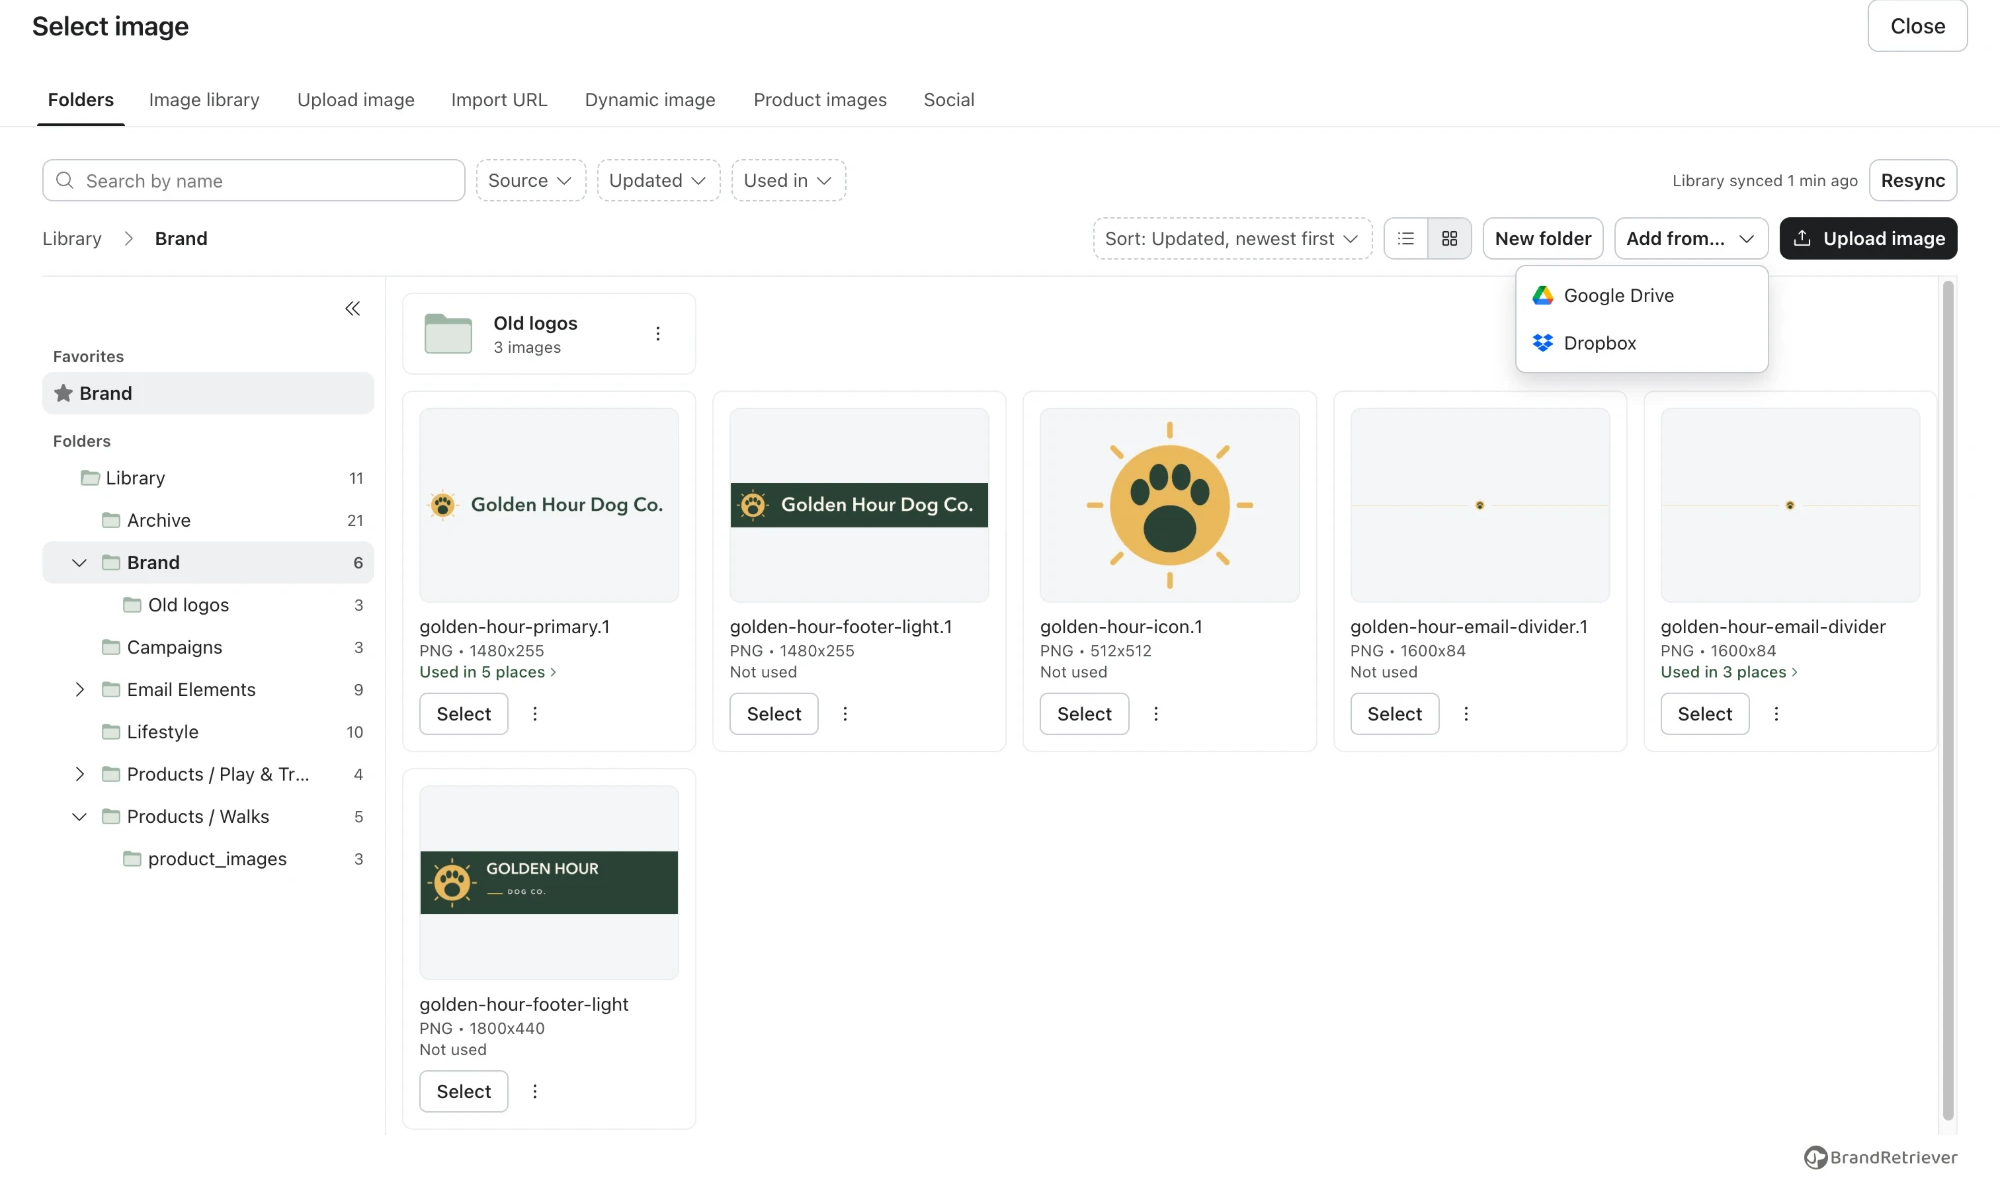
The Add from menu in the Folders tab with Google Drive and Dropbox See where every image is used
In app.brandretriever.com, open Images and click any image to see every campaign, flow, template, and form it appears in. It's the quickest way to find everything that needs updating before you swap a logo or retire a sale banner.
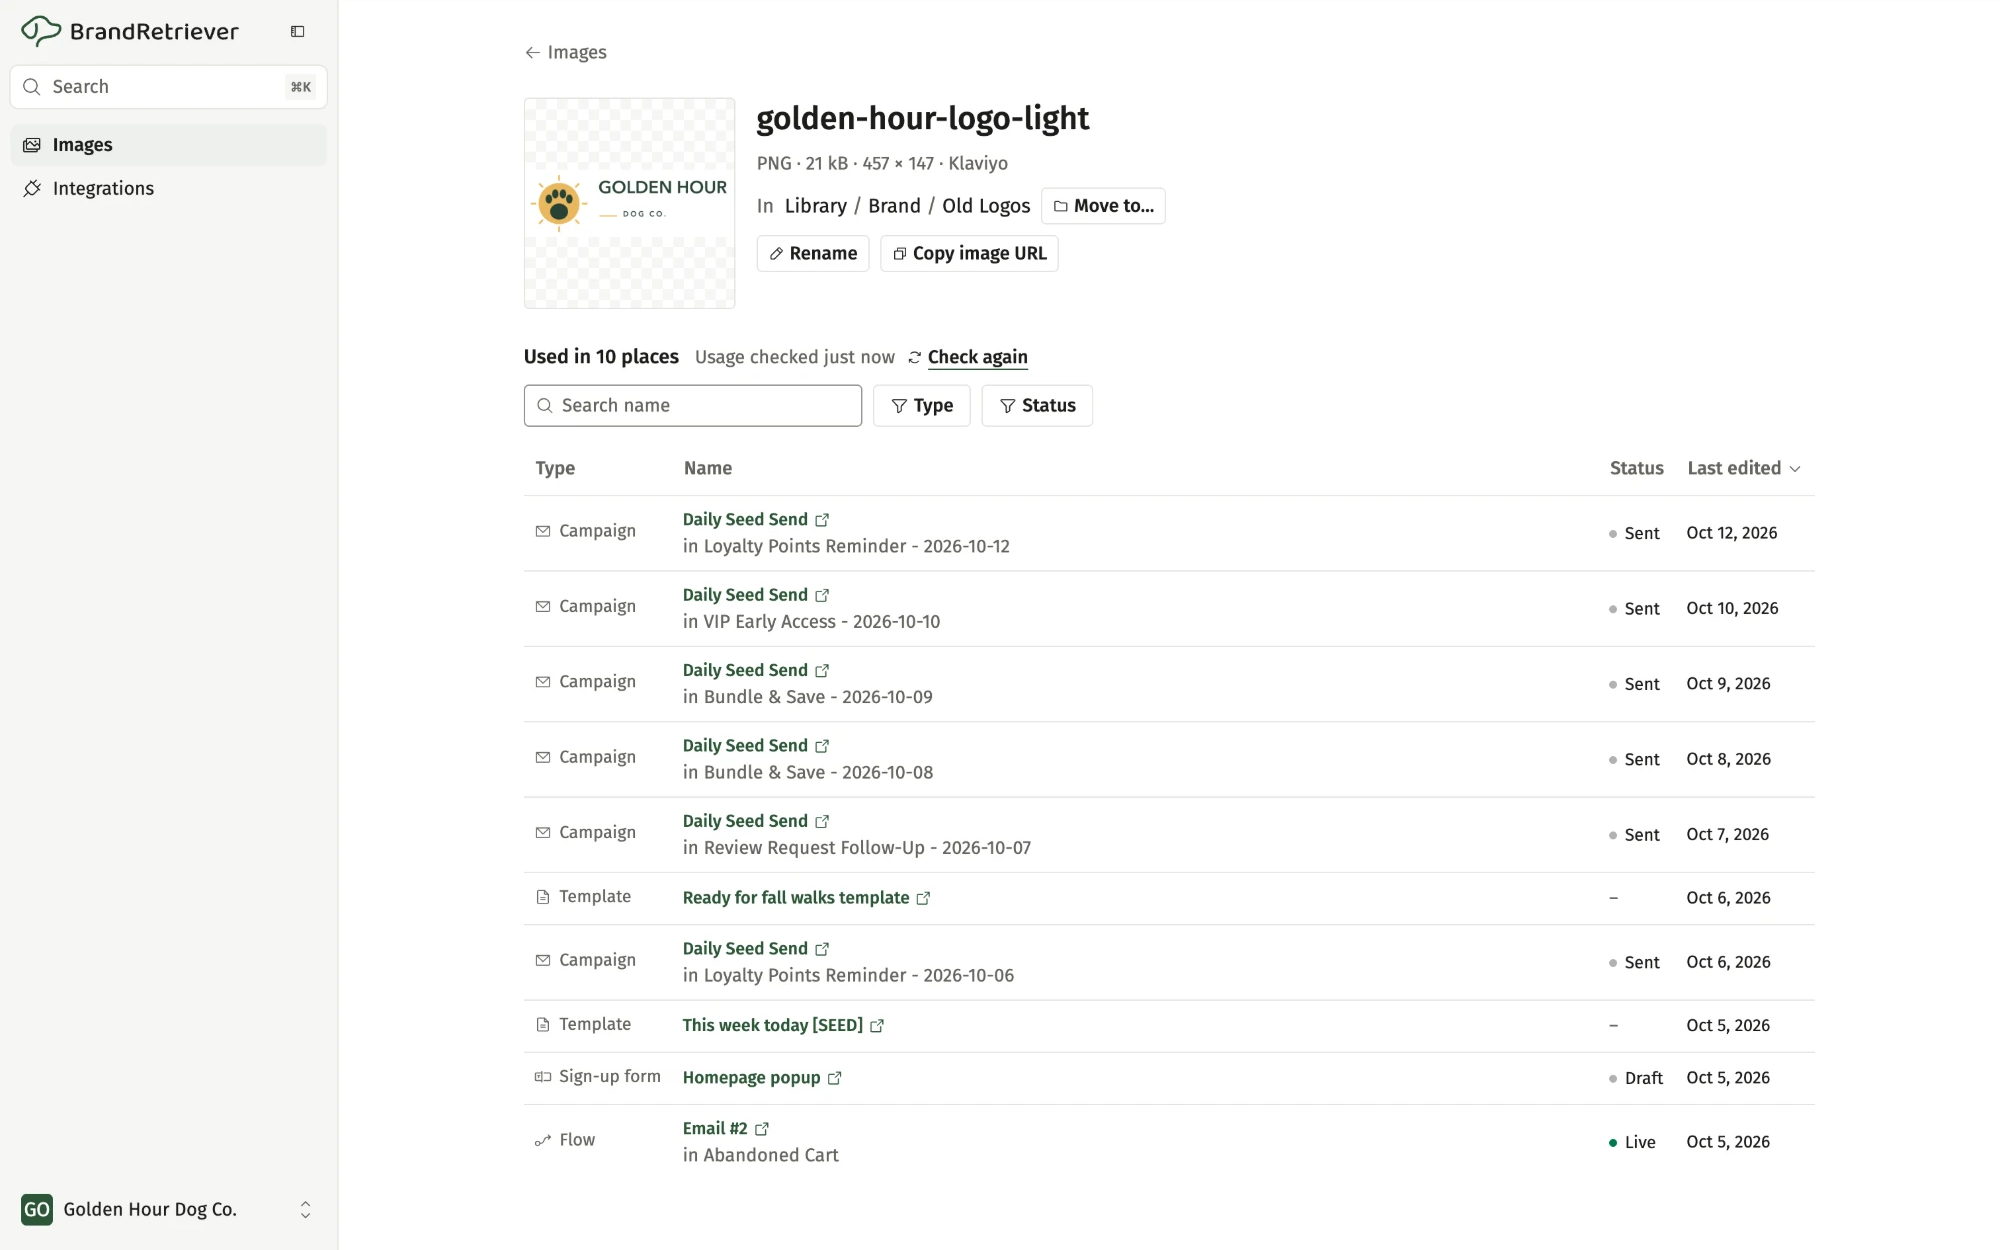
An image's usage list in BrandRetriever
Using Brandfolder?
If your team manages approved assets in Brandfolder, choose it in step 3, then connect it with your Brandfolder API key under Integrations in app.brandretriever.com. A Brandfolder tab then appears in Klaviyo's image picker, where you can browse your Brandfolders and collections and insert approved assets.
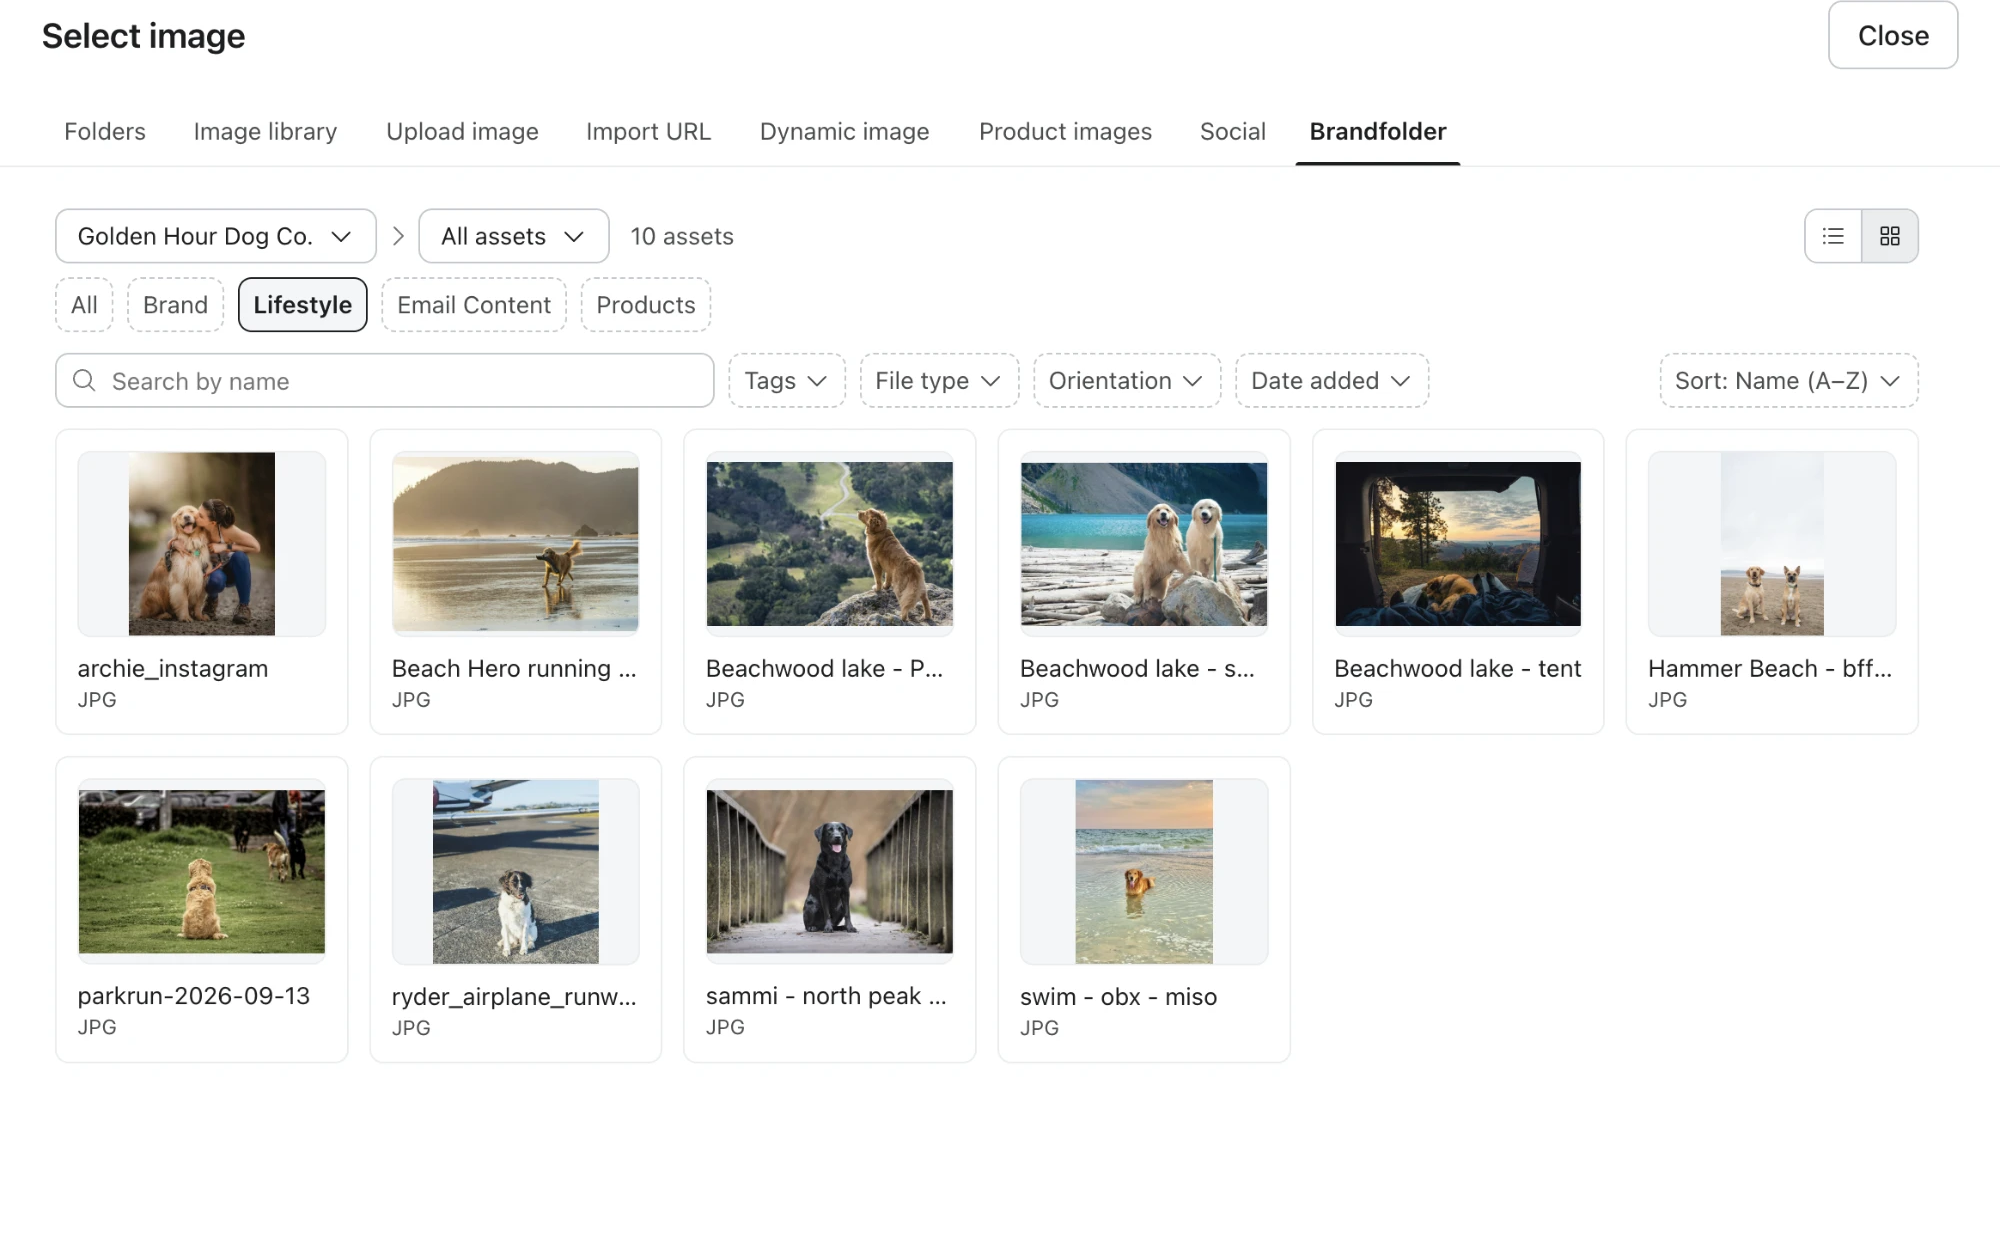
Need help?
Email support@brandretriever.com and a founder will get back to you, usually within one business day. You can also browse the full support page.